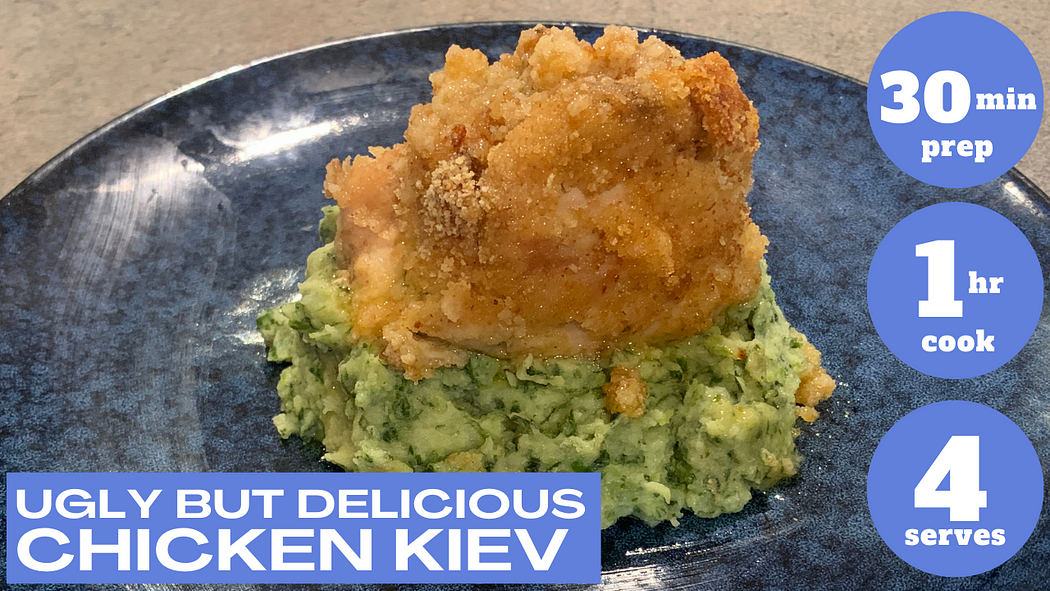
Chicken Kiev is classic comfort food, a famously yummy dish that everyone will love. And it’s super impressive when you tell your friends that you made your Gluten Free Chicken Kiev from scratch!
Just an FYI for premade versions of Chicken Kiev from the freezer isle: watch out for chicken extender in premade chicken meals like schnitzel, nuggets, kievs and the like. If you’re thinking about buying one of these premade meals, have a look at the ingredients, and if the ingredients look like there’s more bread than meat, you’re looking at extender.
I’ll get straight into the full Gluten Free Chicken Kiev recipe below after the brief introduction, so that you don’t have to scroll down to get the details.
However, after the recipe there are tips and variations that are worth reading, so make sure to check them out.
Juicy and buttery, these are perfect served with mashed potatoes to mop up the sauce. However you could chop up some veggies and roast them in the oven while the chicken is baking and have roast veg as a side.
Usually Gluten Free Chicken Kiev is made with chicken breast, but I suggest using chicken thigh as it is tastier and you don’t have to pound the chicken first.
This recipe is also available as a video course on Skillshare. Watch now with one month free access: https://skl.sh/3xaOEQK
The one on Skillshare uses panko crumb, which are not gluten free. To make it a gluten free chicken kiev, simply switch the panko crumb for polenta!
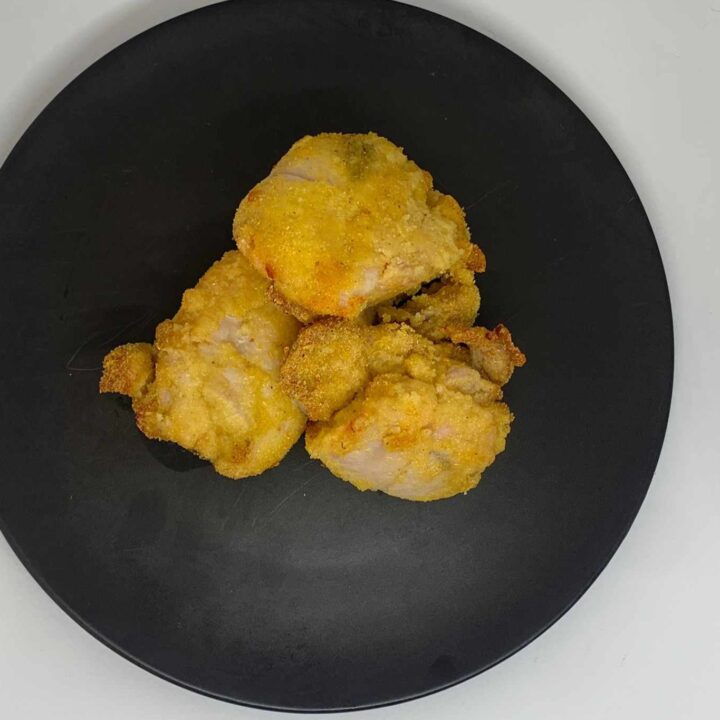
Gluten Free Chicken Kiev
Ingredients
- For the garlic butter:
- 45g unsalted butter, softened
- 1/2 tsp. salt
- 1 clove of garlic, crushed
- 1/2 tsp. dried dill
- 1/2 tsp. dried parsley
- 8 small chicken thighs
- 1 ½ cups polenta
- 1 tbsp. olive oil
- Toothpicks for securing
Instructions
- For the garlic butter, mix all the garlic butter ingredients in a bowl with a fork until well combined.
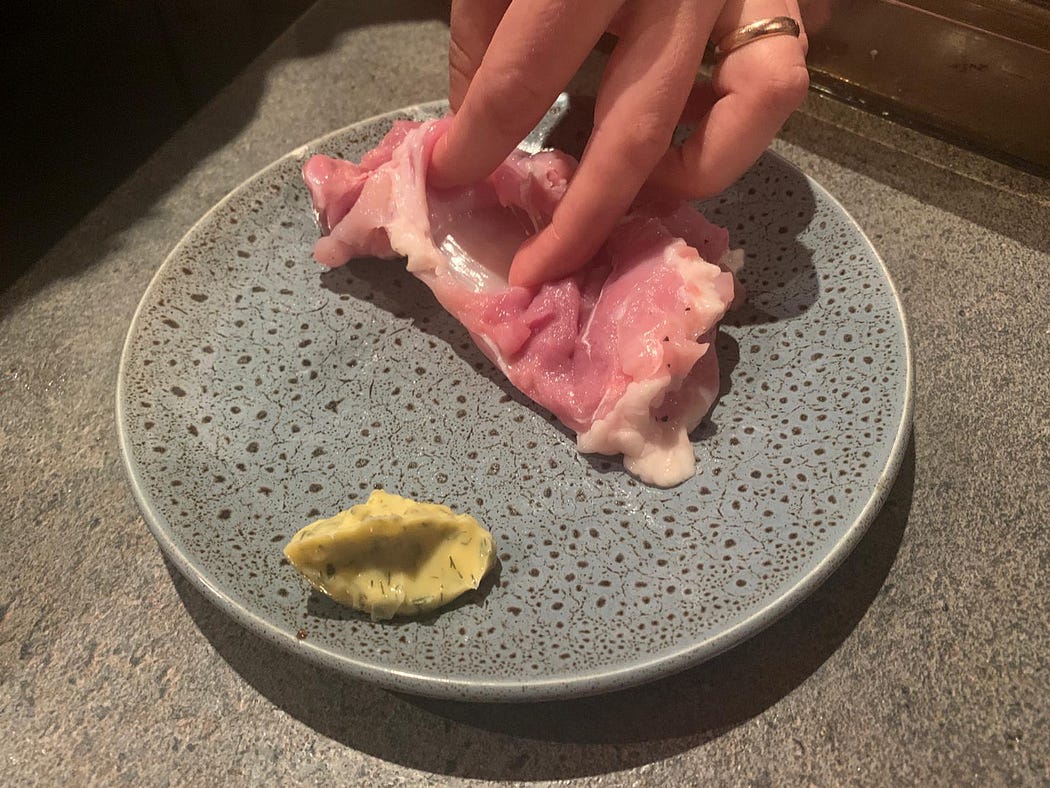
- Preheat the oven to 180C. Take one chicken thigh and roll it out flat on a work surface, skin side down.
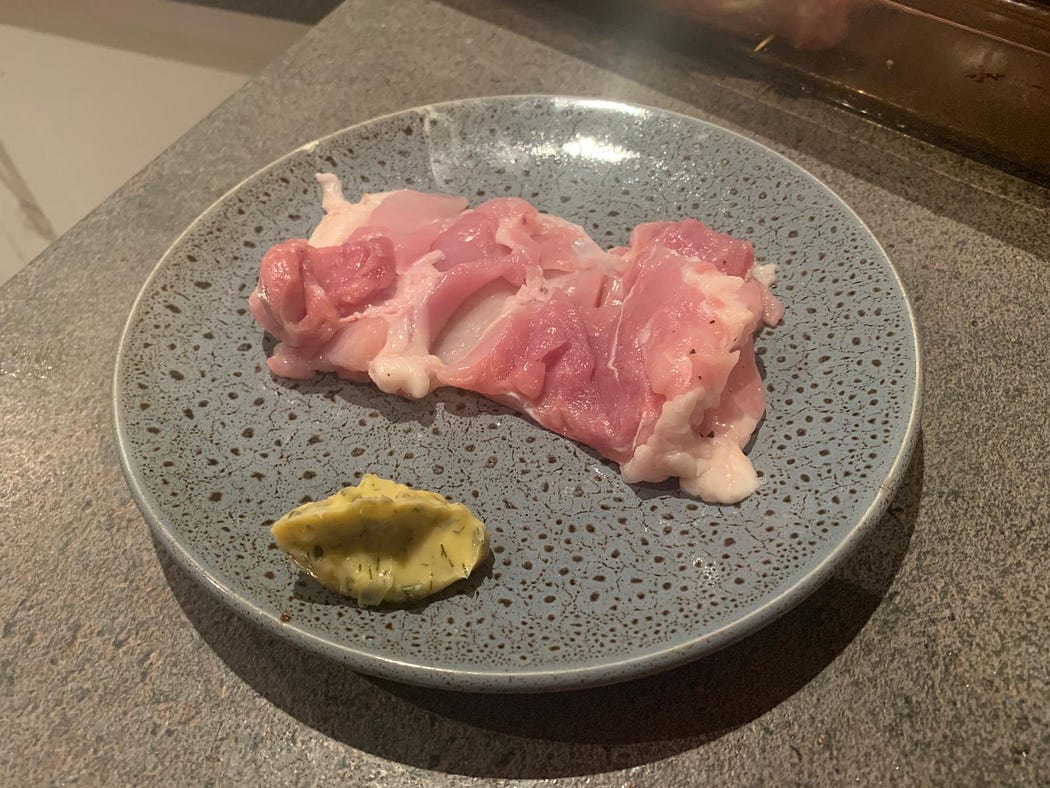
- Place 1–2 tsps. of garlic butter onto the chicken thigh, then roll up the thigh to make a parcel. Try to really tuck the butter away into the middle of the chicken parcel and secure with toothpicks.
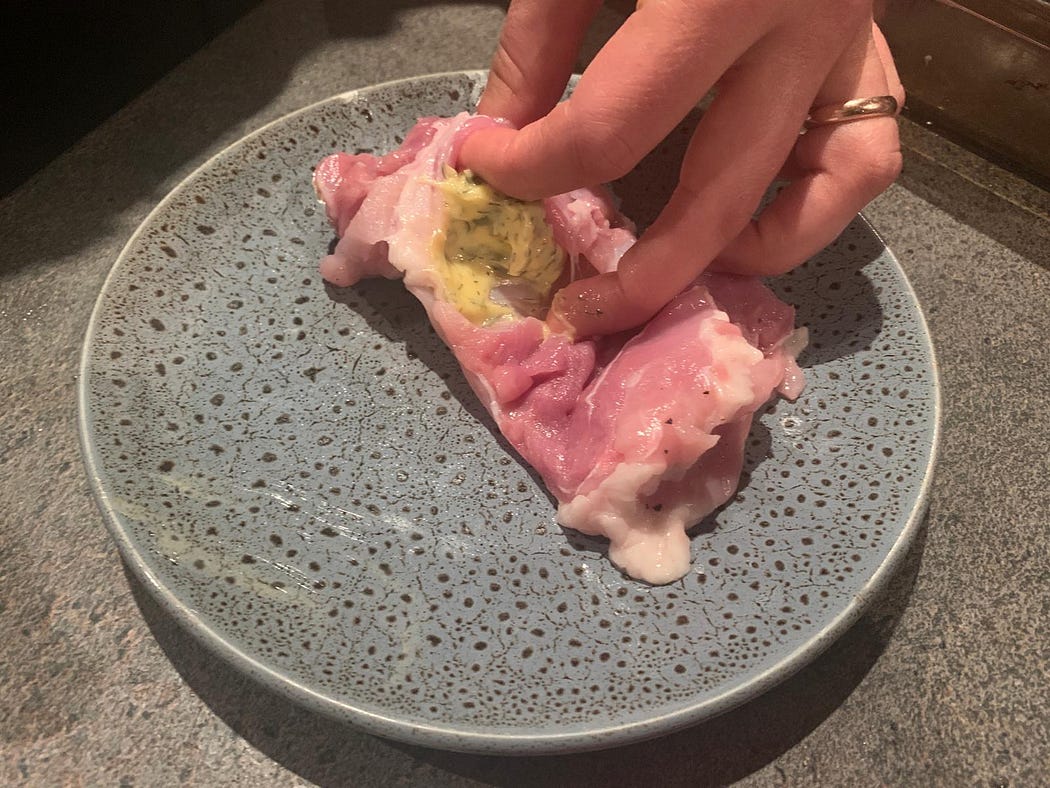
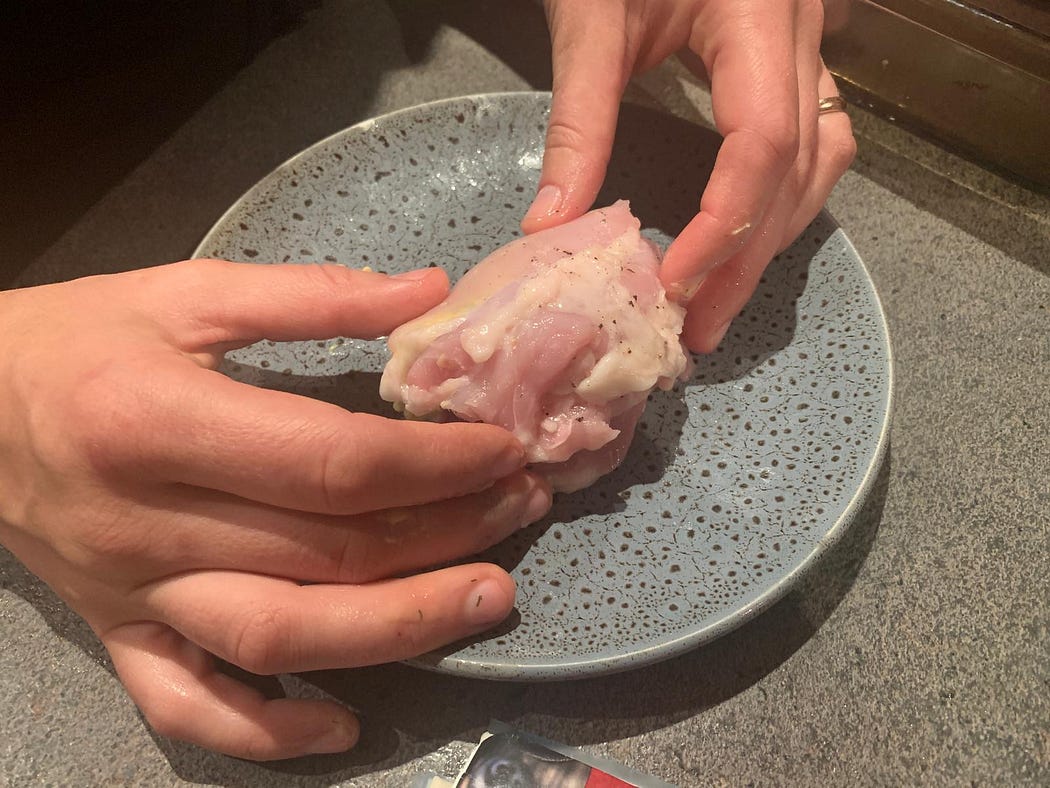
- I use two or three toothpicks for each thigh, one on each end and perhaps one on the side.
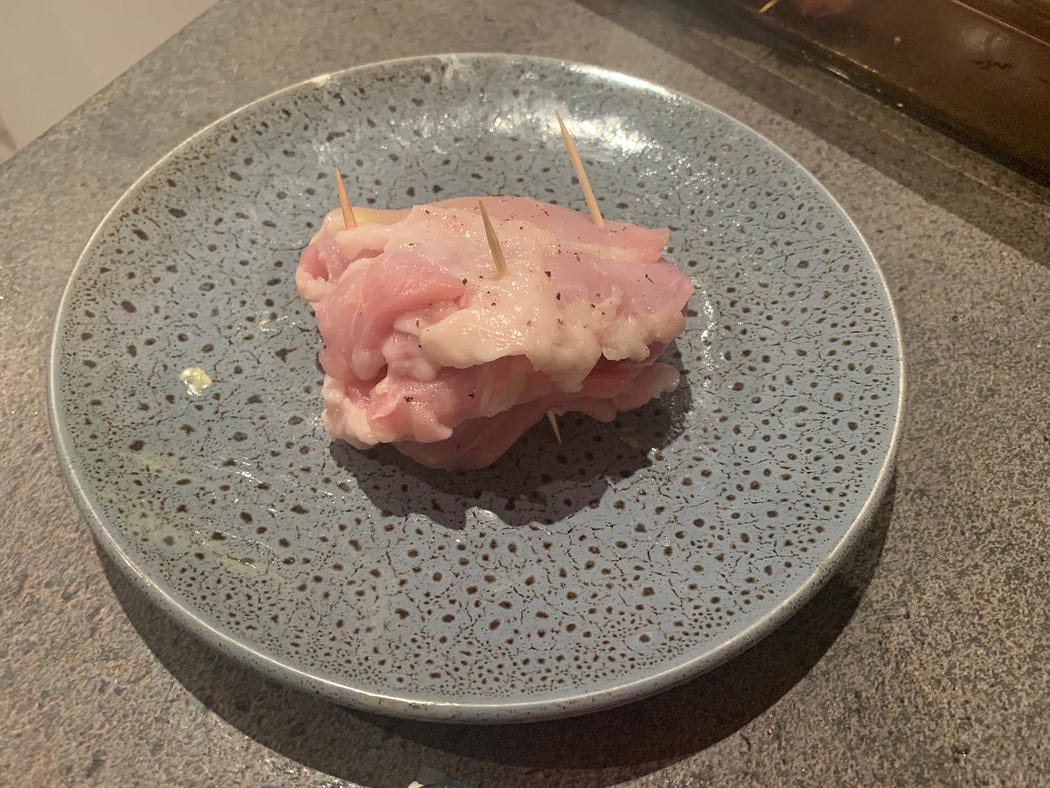
- Repeat for all chicken thighs.
- Beat the egg and milk in a bowl with a fork. Place polenta on a plate.
- Dip a chicken parcel in the egg mix, then coat in the polenta. Make sure to coat it really well. Repeat for all the Kievs.
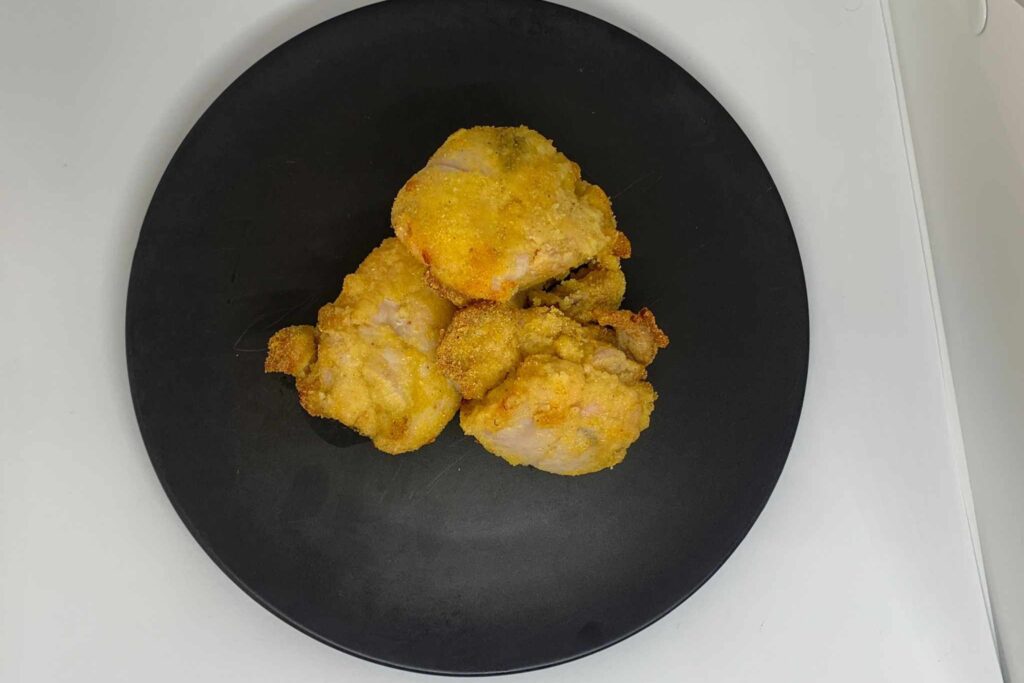
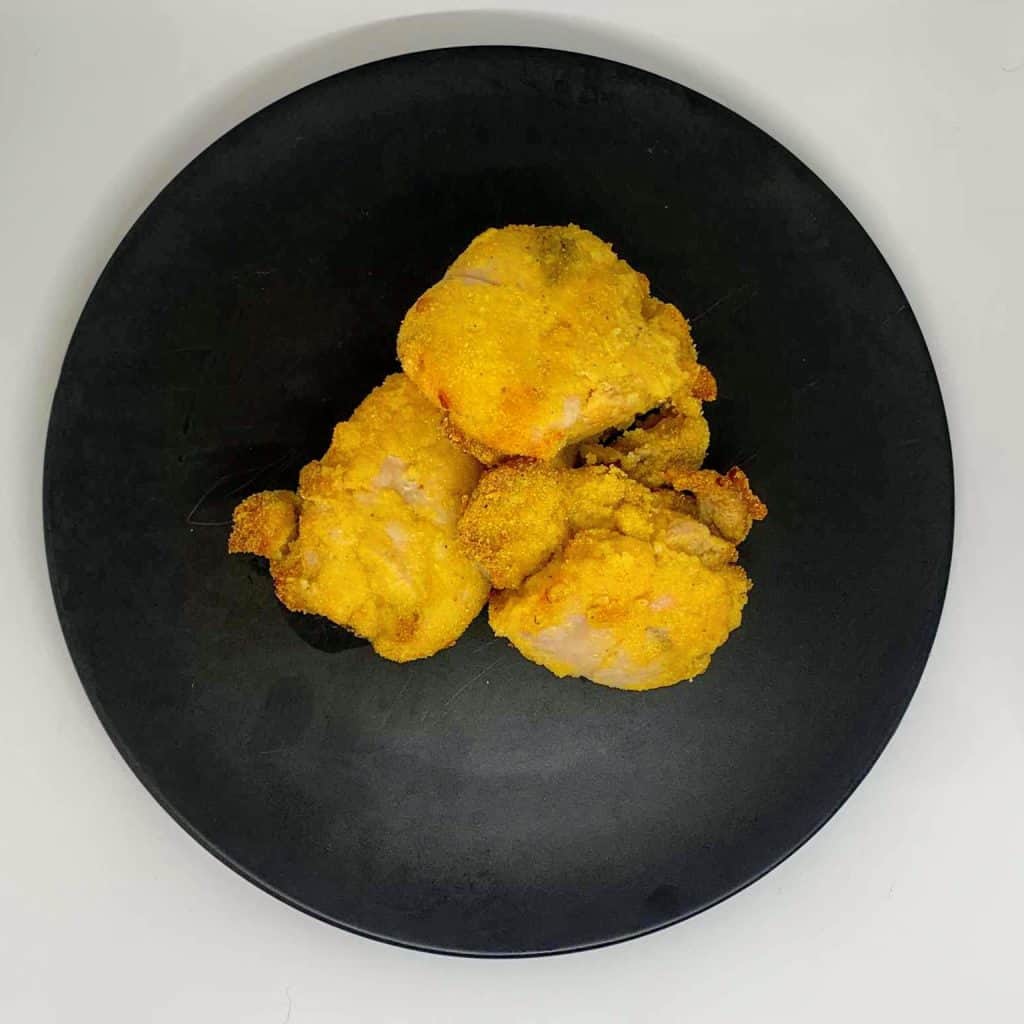
- Heat oil in a frying pan over medium heat. Fry the Chicken Kievs on both sides for a couple of minutes to brown. Then place the Kievs in a baking tray snugly. Bake for 45–60mins or until cooked through. To check if they are cooked through, take out the largest Kiev you can see and cut into the middle of it. If there is no pink, it is done. If the biggest one is done, all the others are done too.
- Take them all out of the oven and let sit and cool for five minutes then make sure you take out all the toothpicks you’ve got in the Kievs. If two toothpicks went into each Kiev, absolutely make sure two toothpicks come out of each Kiev.
- Place on a serving plate then spoon any pan juices back over the Chicken Kievs.
Nutrition Information
Yield 4 Serving Size 1Amount Per Serving Calories 743Total Fat 52gSaturated Fat 19gTrans Fat 0gUnsaturated Fat 32gCholesterol 367mgSodium 1022mgCarbohydrates 9gFiber 1gSugar 0gProtein 63g
Variations for Gluten Free Chicken Kiev
- You can use chicken breast if you want to, just either pound it to make it thinner, or cut the breast horizontally to make two thinner pieces, then roll up into Gluten Free Chicken Kievs.
- Instead of polenta, you can use crushed nuts and they will still be gluten free. If you don’t need them to be gluten free, you could use breadcrumbs, either panko or normal ones.
- Instead of making your own garlic butter, you could use store bought garlic butter.
- Get creative and try putting either bread (gluten free), or parboiled potatoes, under the Gluten Free Chicken Kievs before baking all together. The carbs will absorb all of that buttery sauce.
- There is a great appetiser variation of this recipe, Chicken Kiev Balls, where you roll a tablespoon of chicken mince into a ball, push a small piece of garlic butter into the middle of it and then crumb and pan fry.
Air Fryer Chicken Kiev
You can cook your beautiful chicken kievs in the air fryer if you prefer! To make Air Fryer Chicken Kiev, follow all the above steps except instead of using the oven, put your chicken kievs in the air fryer and cook at 180 degrees C, for 45 mins. Check to see if they are done, and if not, cook for an extra 15mins.
Where did Chicken Kiev originate?
Have you ever wondered where did Chicken Kiev originate? Traditionally it is seen as being from the Ukraine (Kiev is the capital city), where they had an influence of French cooking in the 1700s, but despite its name, the origins of Chicken Kiev are a little more complex than simply pointing to Kiev.
The dish has ties to French, Russian, and Ukrainian culinary traditions. Many food historians believe it was inspired by early 19th-century French techniques, particularly côtelette de volaille, where meat is stuffed, rolled, and fried. French chefs working for Russian aristocrats likely introduced this method to Eastern Europe.
The dish gained popularity in Russia in the early 20th century, especially in elegant restaurants in Moscow and St. Petersburg. It became a symbol of luxury dining during the Soviet era and was widely served throughout the USSR, including in Kiev, where it was embraced and claimed as a national favourite. This connection is what ultimately gave the dish its name, Chicken Kiev.
By the 1950s and 60s, it had made its way to the UK, Australia, and the USA, becoming a nostalgic supermarket staple. Today, it’s enjoyed around the world as a classic comfort food that brings a bit of retro charm, and a whole lot of buttery goodness, to the table.
What to Serve With Chicken Kiev
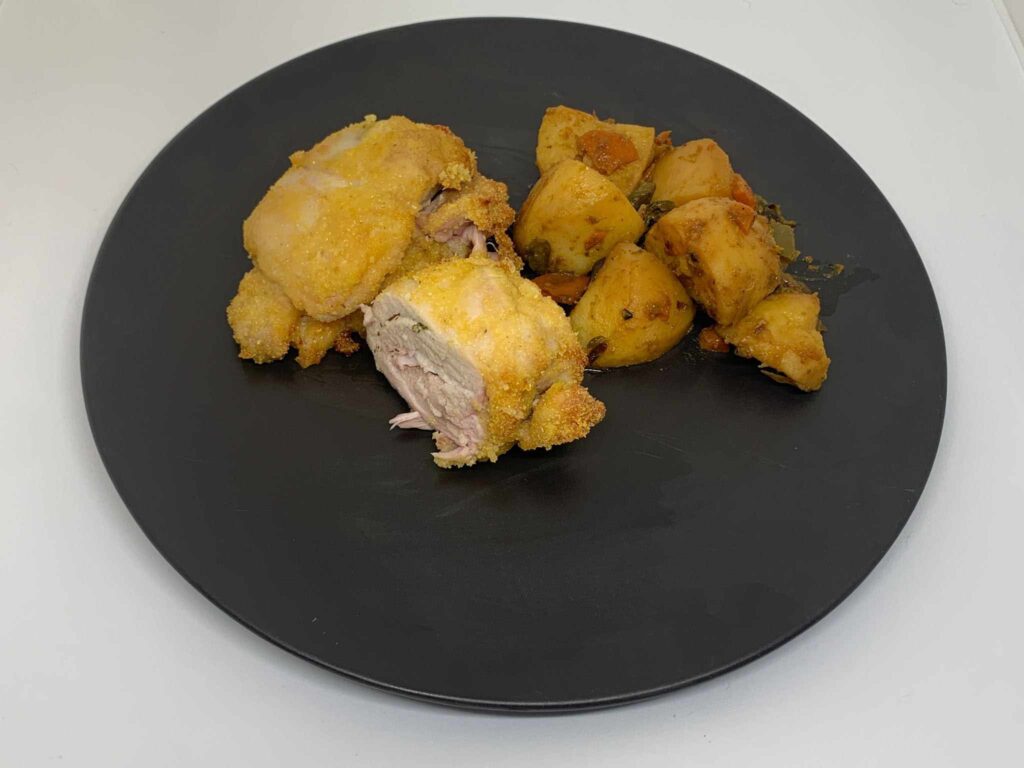
When you’re thinking about what to serve with Chicken Kiev, the short answer is potatoes first, and other vegetables second. In the above photo I’ve made a side dish which was chopped onion, carrot, spring onion and butter in a frying pan, fry until the onions have browned and then add par boiled potatoes, and cook together for about ten minutes.
The Gluten Free Chicken Kiev is also perfect served with mashed potatoes to mop up the melted butter that will inevitably be in the bottom of the pan. My supermarket sells frozen mashed potato and it is the best, I just warm it up in the microwave to make life easy. Check out this Spinach Mashed Potatoes recipe using the frozen mashed potato cubes with spinach added.
You could chop up some veggies and roast them in the oven while the chicken is baking and have roast veg as a side too.
Or simply blanch some green beans for a side, and serve with (gluten free) bread to mop up the Gluten Free Chicken Kiev garlic butter sauce.