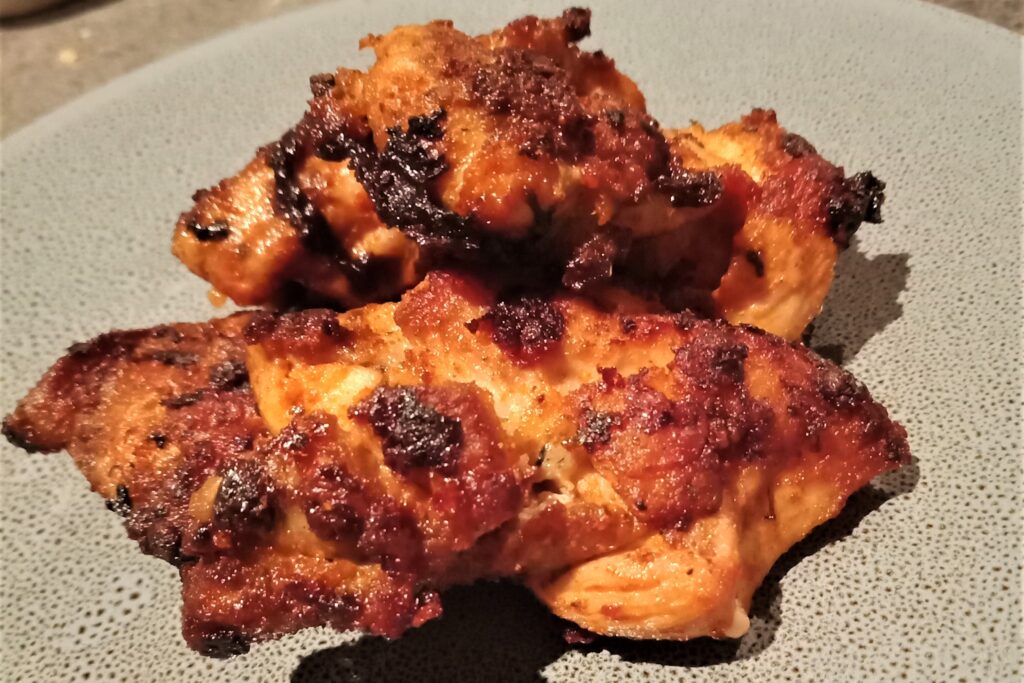
Nandos has made Peri Peri Chicken a household favourite but thanks to this Peri Peri Chicken Bites recipe you don’t need to leave home to enjoy the deliciousness!
I’ll get straight into the full recipe below after the brief introduction, so that you don’t have to scroll down to get the details.
However, after the recipe there are tips and variations that are worth reading, so make sure to check them out.
This is one for the spice lovers , Peri literally means chilli ie ‘chilli chicken’ . My husband loves an extra kick, I personally don’t. So feel free to tweak the amount of cayenne pepper to your taste. But be careful, as it will absolutely blow your head off if you use too much.
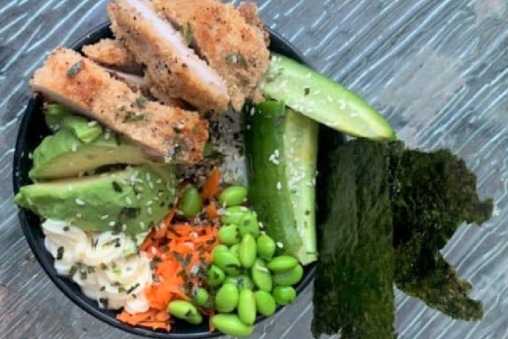
This recipe is so versatile you can serve it with anything you like. I go with a pulao style rice dish (you can find a quick recipe in the Variations section below), steamed vegetables, and of course some whole egg mayonnaise for dipping!

Peri Peri Chicken Bites
Ingredients
- 1kg free range thicken thigh, cut into 5cm thick slices
- 1.5 tbsp. paprika
- 1/2 to 1 tsp. cayenne pepper (or to taste)
- 1 tsp. dried oregano
- ½ tsp. garlic powder
- ½ tsp. ginger powder
- 2 tbsp. olive oil
- ½ tsp. salt
- ¼ tsp. black pepper
Instructions
- Combine all of the ingredients except the chicken in a large bowl. Taste the marinade to see if the spice level suits you, you can add more cayenne if you want it hotter.
- Add the chicken pieces and use your hands (or a spoon) to massage the flavours evenly onto the chicken.
- If you have a couple of spare hours, cover the chicken and place in the fridge to marinate , this will add some depth to the flavour. If not, it’s okay to get cooking right away.
- Heat a non-stick frying pan over medium heat. Add the chicken but don’t crowd the pan , you want some space between each piece. You may have to do two batches.
- Let the chicken pieces fry on one side for about 15 minutes, until the bottom has gone brown and crunchy and the chicken has released a bit of white juice.

- This white juice + brown and crunchy and nearly burnt on the bottom = flip time!
- Use tongs to flip the pieces over and fry the other side until it is also brown and crunchy. A little bit charcoaled, but not burnt. This will likely only take 5 minutes on the second side.
- To check if it’s cooked through, cut open the thickest, largest piece. If the juices inside run clear and there is no pink meat, it is done. If the thickest, largest piece is done, all the others will be done too.
- If the chicken is cooked through but still not looking crunchy, turn the heat right up and give it a good sizzle for a couple of minutes on each side.
Nutrition Information
Yield 4 Serving Size 1Amount Per Serving Calories 605Total Fat 42gSaturated Fat 11gTrans Fat 0gUnsaturated Fat 30gCholesterol 320mgSodium 728mgCarbohydrates 2gFiber 1gSugar 0gProtein 59g
Variations
- While chicken thigh is my hands down favourite, you can use any cut of chicken that you like, just cook for longer if using larger sized pieces, and especially it will take a bit longer if you have used bone in pieces.
- You could instead bbq, grill or bake the chicken. Baking it wouldn’t give that crunchiness unless you broiled it at the end.
- You could substitute chicken with any other meat or vegetables that you enjoy.
Pair With
- Potatoes, any way you like. Plus a salad would be fun and if you love carbs then also some garlic bread.
- You could use the chicken on top of a salad, in a wrap, sandwich, or burger too!